How To Make Lotion Bars At Home – Ultimate Solution For Rough And Lifeless Hands
Do you know our hands can easily tell our age?
If you neglect taking care of your hands, the skin will become extremely hard and wrinkled with age.
It is, therefore, necessary to properly moisturise our hands throughout the day and make it a habit to do so.
Our hands are one of the most used body parts throughout the day.
We have so many household chores to do which often involve getting our hands wet in water.
They get exposed to harsh chemicals especially while cleaning utensils or washing clothes. This makes our hands rough, dry and lifeless over a period of time.
I am going to show you a solution to this problem by making homemade ‘Lotion Bars’. Yes, Lotion bars!!
They have solidified hand lotion which is easy to use and carry.
Most importantly, they can be easily made at home.
Nowadays, there are many hand creams available in the market which are quite expensive and also come with beautiful fragrances.
But as I said earlier, most of these creams contain chemical preservatives and artificial fragrances which may damage our skin in the long term.
So why waste tons of money on manicures when you can easily take care of your hands at home and that too naturally?
How To Make Lotion Bars At Home?
Lotion bars are super moisturising and you can cast them in whatever shape and size you want with any of your favourite essential oils for fragrance.
These lotion bars moisturise our hands and the essential oils keep our hands fragrant throughout the day.
To make lotion bars we will be needing 3 main ingredients which are:
1. Any carrier oils
(I’m using apricot kernel oil)
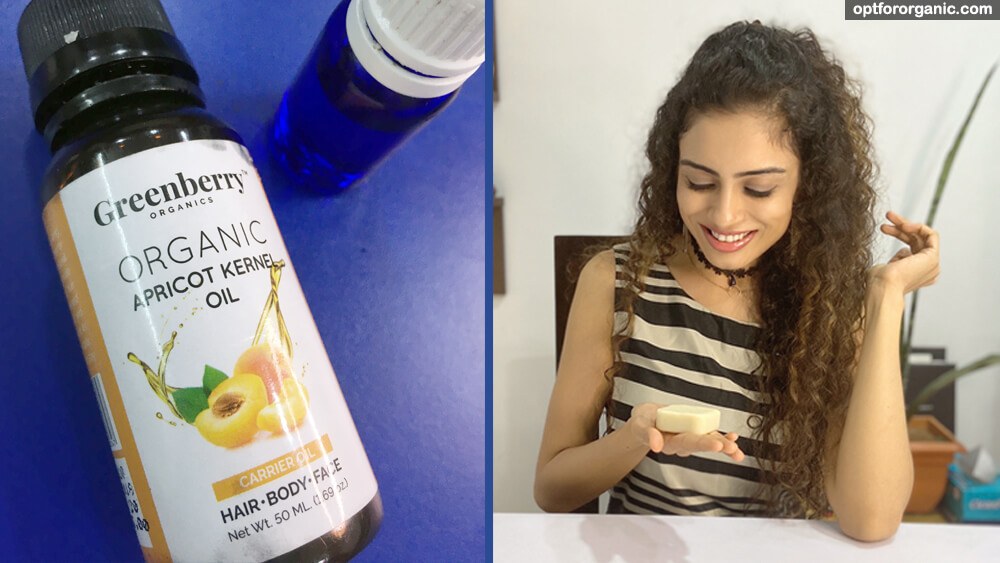
You can use any plant-based carrier oils of your choice.
Choose your carrier oil according to the weather you are living in. e.g if you are living in a cool dry place then choose more dense oils. If you are living in a hot and humid place then lighter oil which is easy to get absorbed.
Other Carrier oil options:
Extra virgin cold-pressed sesame oil
(There are many more, the above mentioned are just the basic ones!)
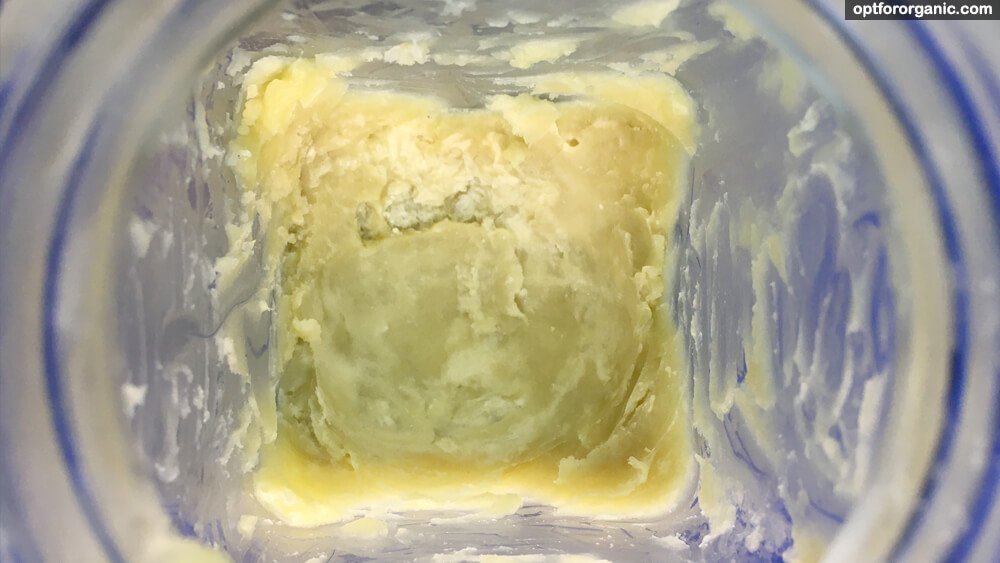
2. Any butter
(I’m using raw organic shea butter here)
If you are living in a cold region and want a more moisturising lotion bar then you can use more dense butter such as cocoa butter.
Butter options;
3. Beeswax
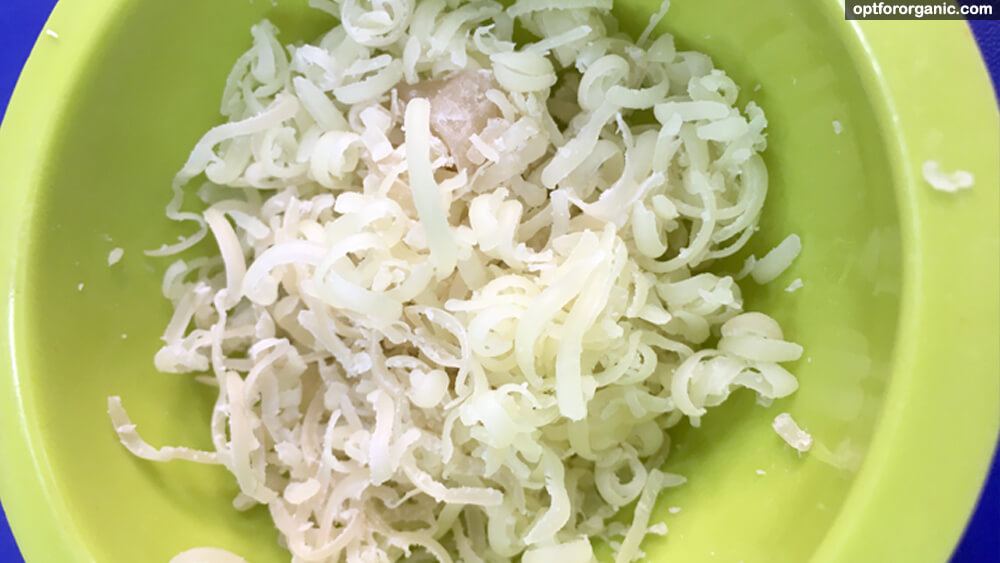
Here, we are using beeswax as a binding agent (emulsifier) to harden the bars.
Beeswax is a natural alternative of other emulsifying agents used in many cosmetic products. It comes in several varieties such as beeswax slab or beeswax pallets, beeswax flakes, white coloured beeswax, etc.
I have used grated beeswax pallet in this.
Fragrance: (Optional)
You can add any essential oil of your choice (I am using peppermint essential oil here)
In all my products, I use essential oils as a natural fragrance.
There is a wide range of essential oils derived from plant materials available in the market.
They not only provide a beautiful fragrance but also very beneficial to our skin.
Here are other alternatives you can use;
One silicone mould to cast these lotion bars.
I prefer using silicone moulds to cast lotion bars, soaps, etc. As it is easy to take out the hardened soaps and lotion bars from them and it doesn’t damage our final product while removing from the mould.
How to make lotion bars?
You need equal parts of each 3 basic ingredients. Here I’m taking ¼ cup of each ingredient.
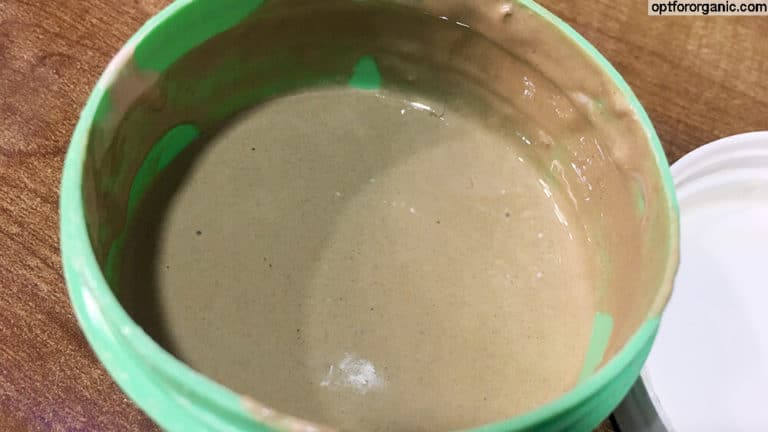
Melt all these ingredients in a glass container either in the microwave or by double boiler method.
If you are melting in the microwave then make sure to take it out every 30 seconds, stir well and again put back until completely melted.
And if you are melting by double boiler method then,
Heat some water in a stainless steel pan and put a glass bowl over it, a bit elevated from the water level.
Now add ¼ cup of beeswax first. (Because beeswax will take a little longer time to melt than other ingredients)
Once the beeswax is almost melted, add ¼ cup of apricot kernel oil and ¼ cup of shea butter and stir.
(*The reason behind adding shea butter, in the end, is because it is a very sensitive butter and may become grainy if overheated.)
Remove it from heat once all the ingredients are completely melted.
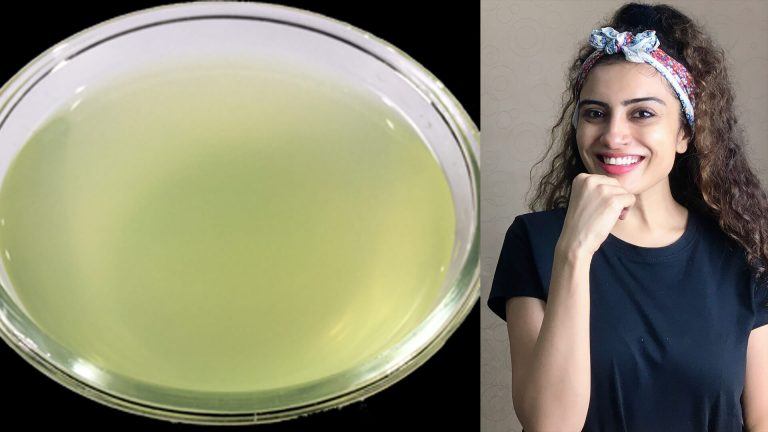
Now put this aside until it comes to room temperature and adds 5-6 drops of peppermint essential oil to it. Stir well and pour the mixture into the silicone mould.
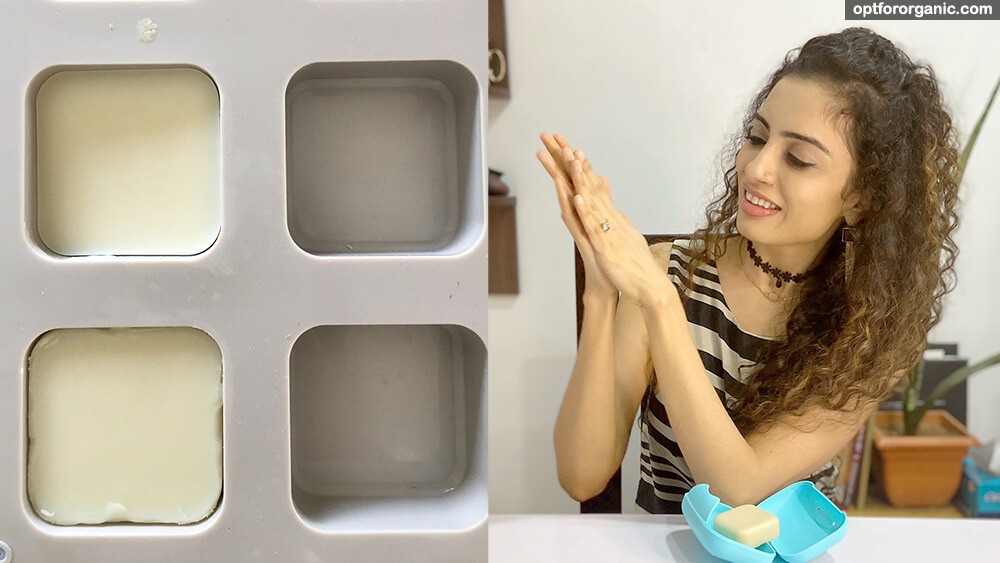
You can either wait for it to harden up completely on room temperature or you can speed up the hardening process by putting it into the refrigerator.
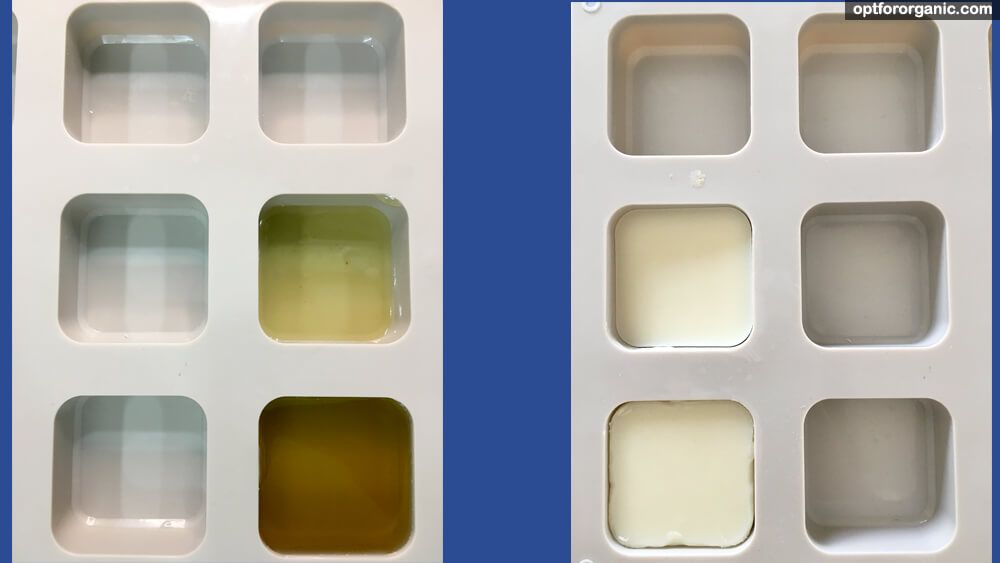
Our homemade lotion bars are ready… See, how soft and moisturising they are!! 🙂
It can take about 2 hours in the refrigerator to get hard. You can put it in a small container and carry them along in your purse wherever you are going.
These lotion bars are long-lasting and quite cheap as compared to the ready-made hand creams.
You can also keep one on your work desk or in the kitchen in a soap case so that it comes handy whenever you have to moisturise your hands.
Lotion bars are made without water. So we don’t need any kind of preservatives and they have a shelf life of 1-2 years.
How to Use?
Just take your lotion bar and rub it in your palms. It absorbs easily while using and it is very nurturing for our skin.
I am eager to know how helpful you find these lotion bars so please share with me about your batch and ask me if you have any questions about this.