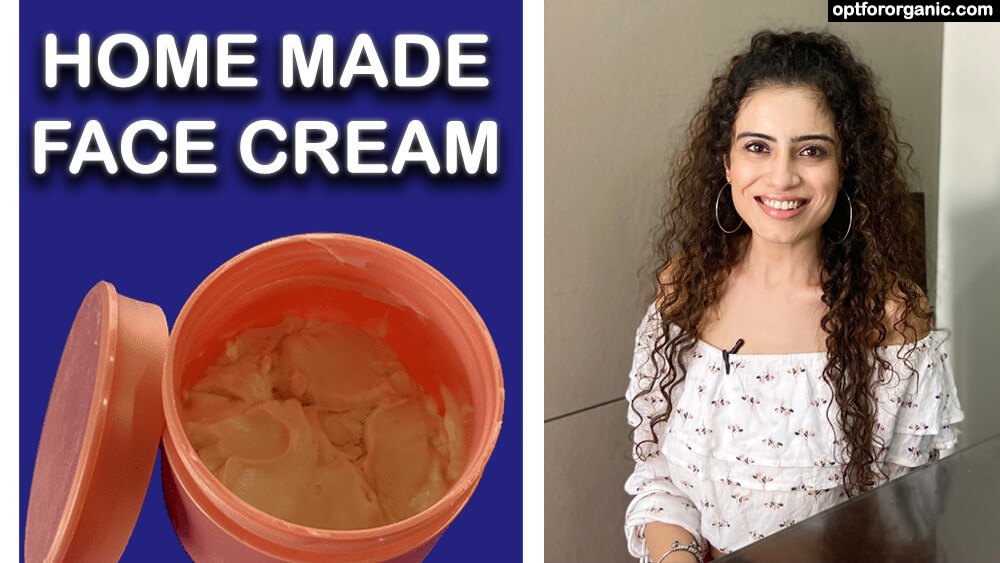
How To Make Your Own Face Cream For Dry Skin At Home With Organic And Natural Ingredients?
Like me, many of you must have always wondered about the ‘ingredients’ of the products we buy at stores or those recommended by our dermatologist (If you haven’t, you should!).
I have always been curious and concerned about the chemical-based ingredients they contain.
Since a very long time, I have been trying and testing different natural ingredients to customise my own face cream which is completely natural and made specially for my type of skin.
Why buy a cream which is commercially produced without considering a specific skin type when you can customise your own face cream for your skin type and with completely organic materials?
So after several planning and 4 to 5 failed attempts, the batch of face cream I prepared was perfect and also very light and smooth on my skin.
You would love it!
So, this is the basic template to customise your own face cream at home with your own preferred ingredients.
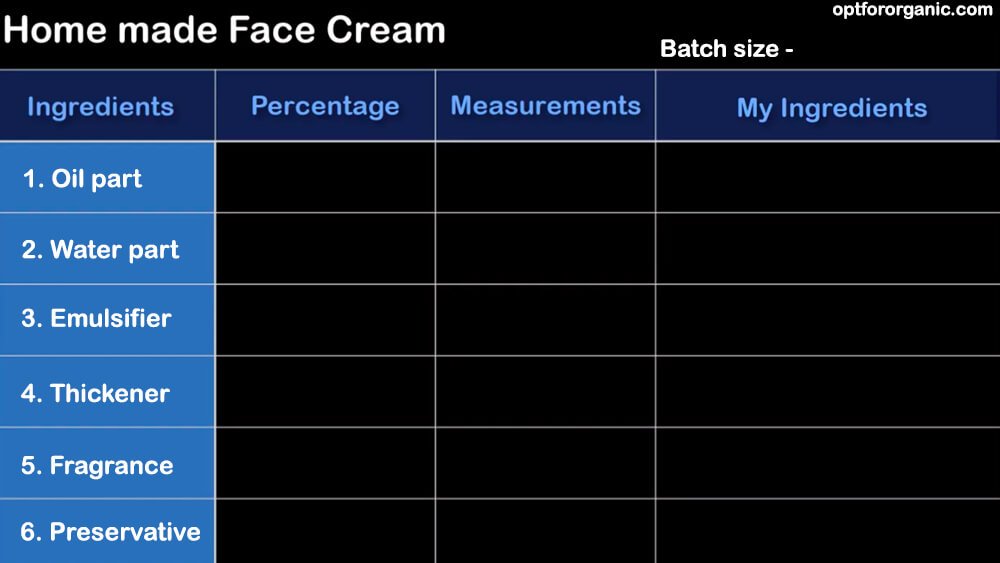
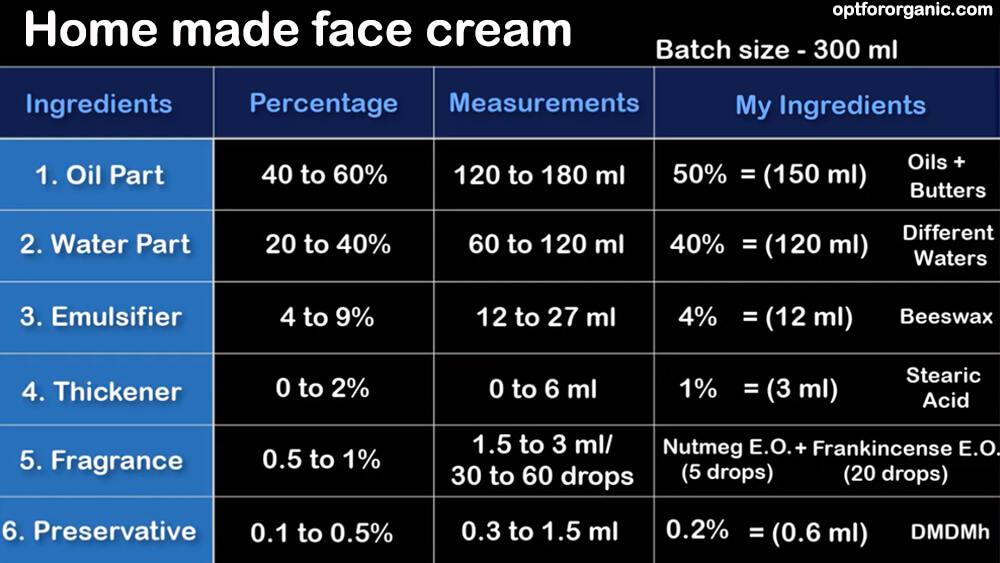
First decide the batch size. I’m making 300 ml.
Oil part – for the face cream we require maximum percentage of oil part. Which is around 40-60 % of the entire batch.
For 300 ml batch we will be needing almost 120 to 180 ml of Oil part. I am taking 50% which is around 150 ml.
In oil part we can add a mixture of different oils or butter.
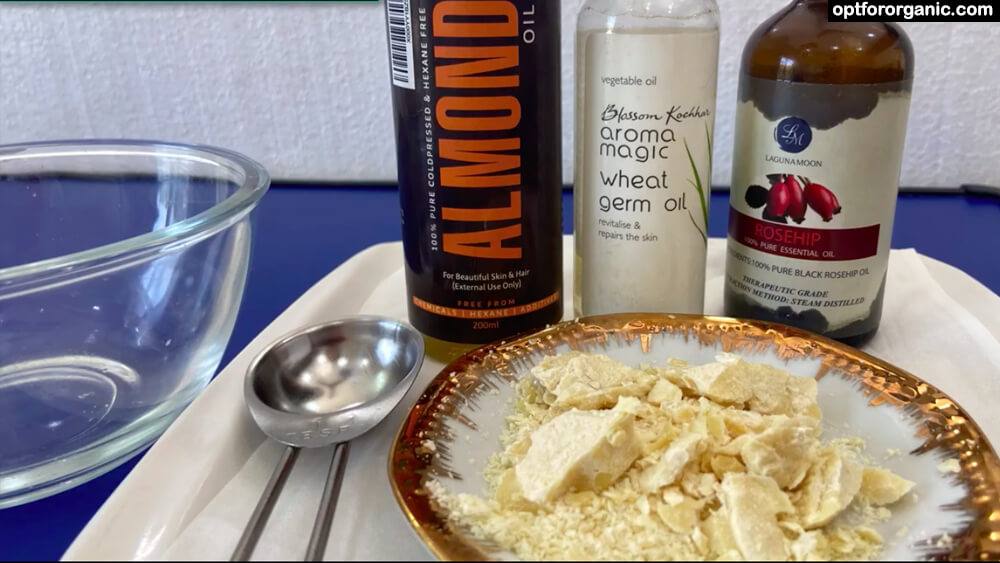
I’m mixing,
– Wheat Germ oil
– Almond oil
– Rosehip seed oil
– and Cocoa butter.
Water part – Second largest component in a face cream comes the water part. Which is around 20 to 40 percent.
For 300 ml batch we require 60 to 120 ml water part. I am taking 40 percent which is 120 ml.
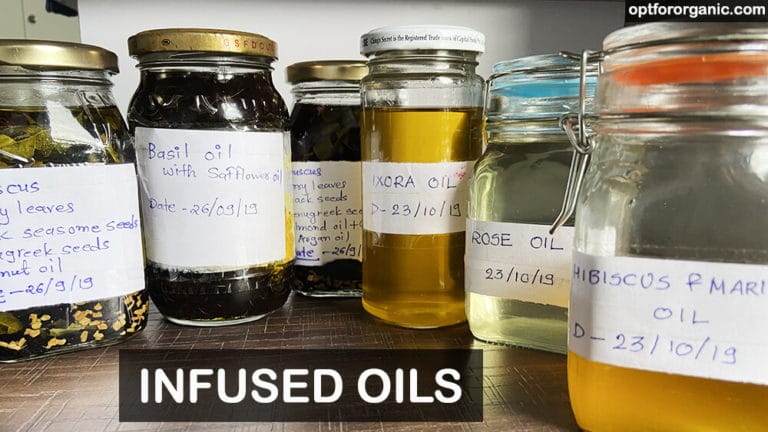
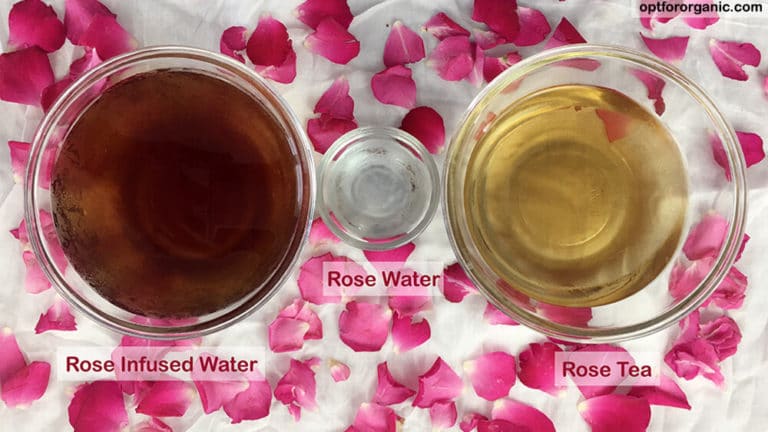
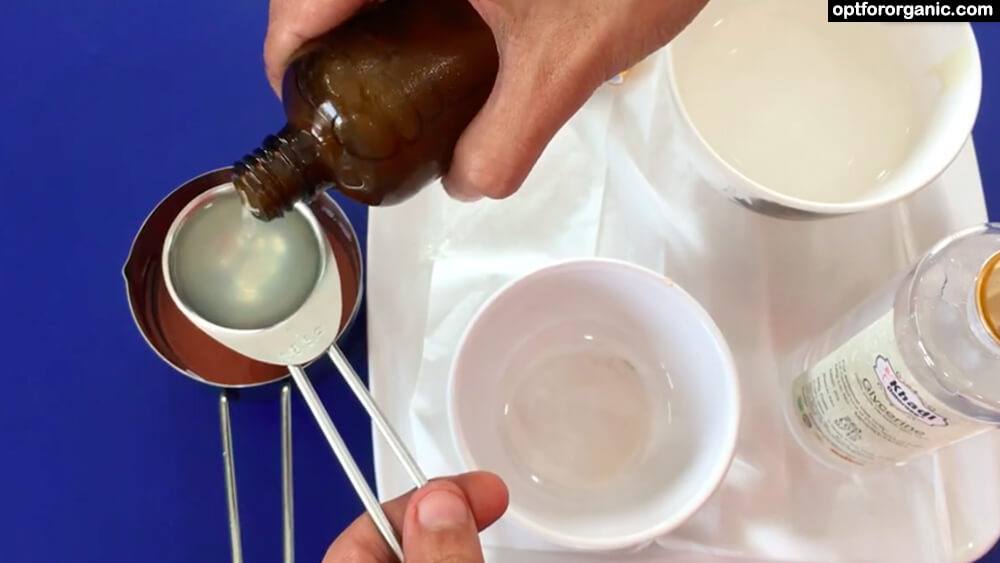
In water part we can mix distilled water, aloe vera gel, hydrosols and different teas/infusions.
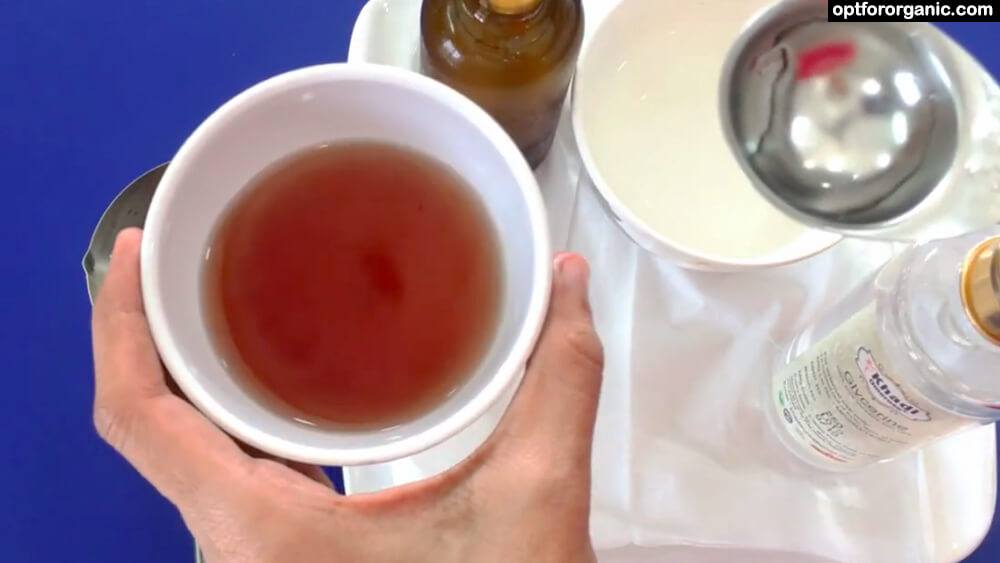
I am mixing;
– Rice water
– Flowers infused water
– and Aloe vera gel.
Emulsifier – Third very important component is an Emulsifier.
Emulsifier we will be needing 4 to 9%. Which is around 12 to 27 ml for 300ml out of which I am using 4 per cent which comes to 12ml of beeswax.
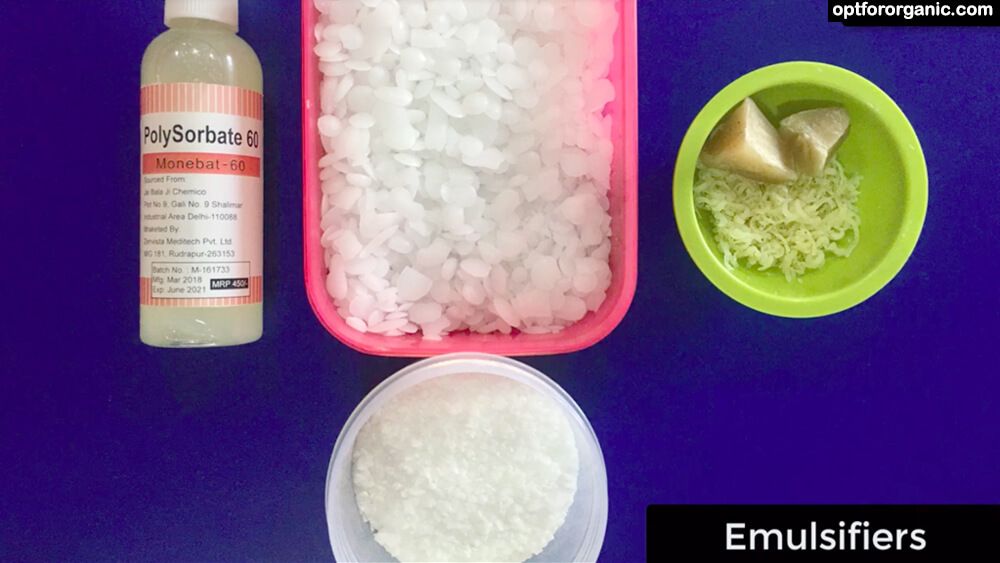
‘Emulsifier is a substance which binds two different density liquids such as oil and water and prevents them from separating.‘
There are different types of emulsifiers available in the market. Such as emulsifying wax pellets or flakes, beeswax, gel-based emulsifiers etc.
I am using Beeswax as an emulsifying agent here.
Thickener – Fourth ingredient is a thickener.
Thickener should be 0 to 2 percent. For 300ml it should be 0 to 6 ml.
I am using around 1% which is 3 ml of stearic acid as thickener.
As the name itself suggest a thickener is used in a cream to thicken the consistency and also to make it more creamier.
It is an optional component. If you are using maximum percentage of emulsifier you may not require a thickener.
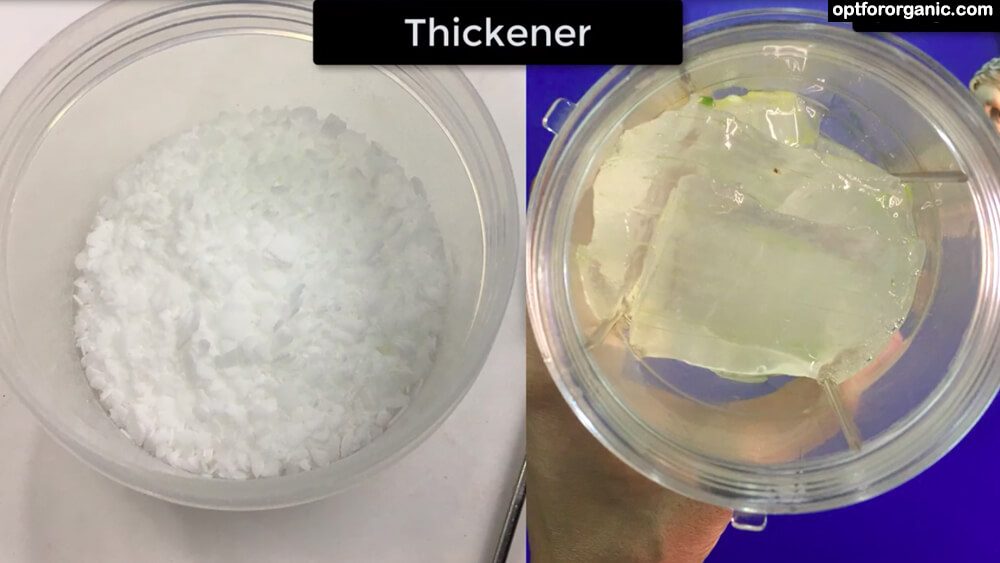
Instead of Stearic acid you can also use freshly extracted aloe vera gel.
Fragrance – Now comes the fragrance part.
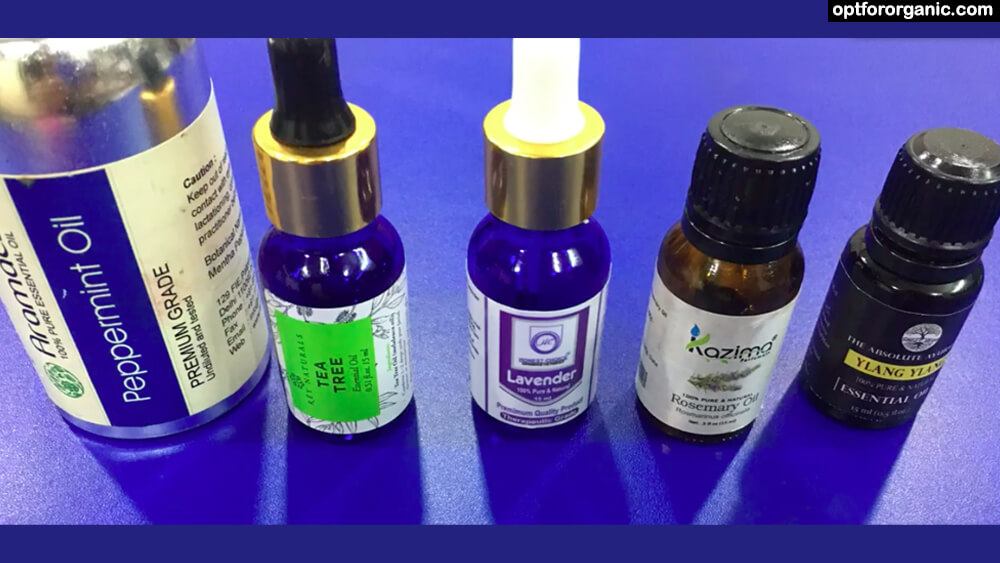
Fragrance should be 0.5 to 1 percent. So for 300 ml batch, we need approx. 1.5 to 3 ml of essential oil. Which is around 30 to 60 drops. You can also mix different essential oils instead of one.
In market-based products, they use artificial fragrance which can be harmful to your skin. Here, we are using essential oil as a natural fragrant.
Essential oils come in many fragrances. You can customise your own fragrance by using your favourite essential oil. Also, essential oils are nurturing for our skin too.
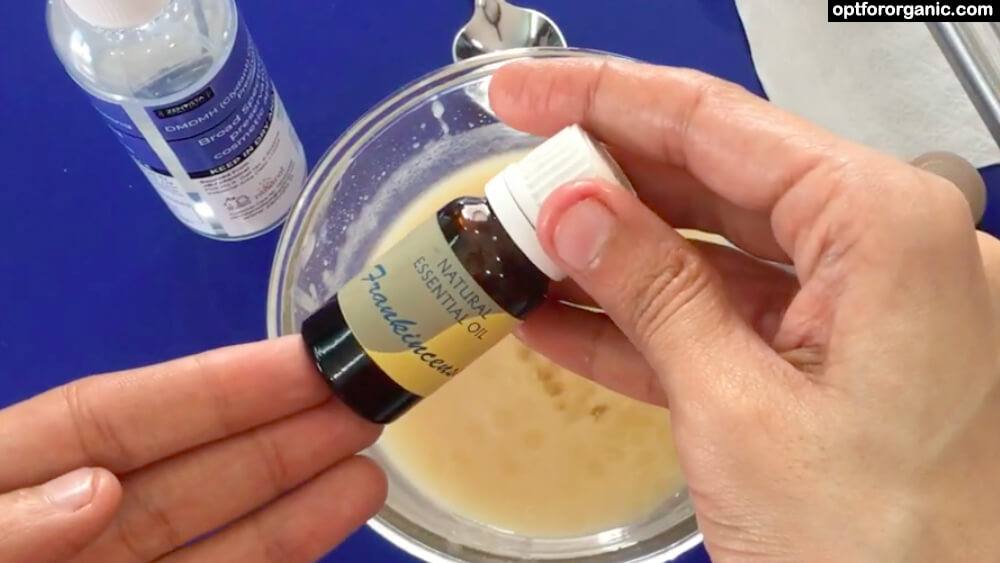
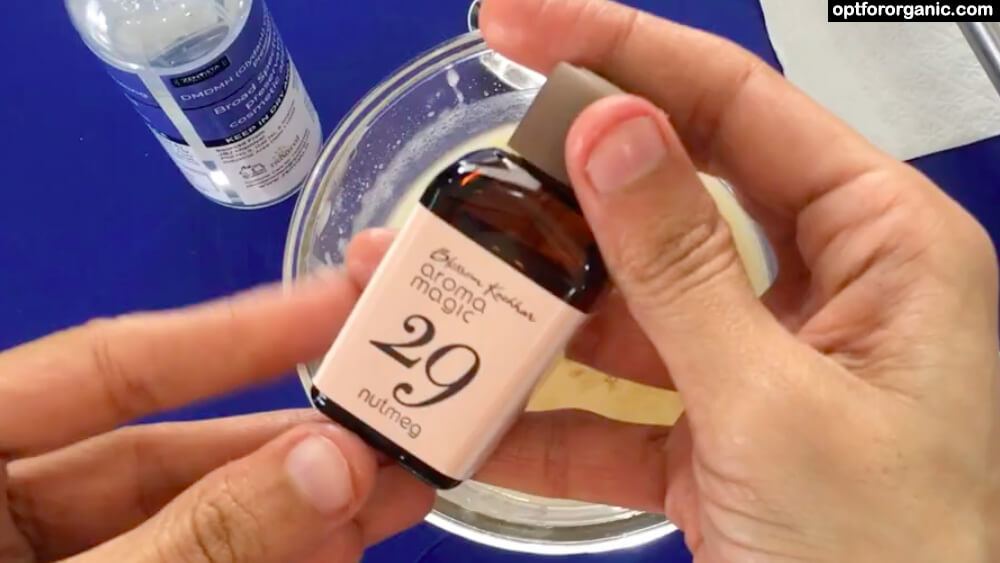
Here I am using Nutmeg and frankincense essential oil.
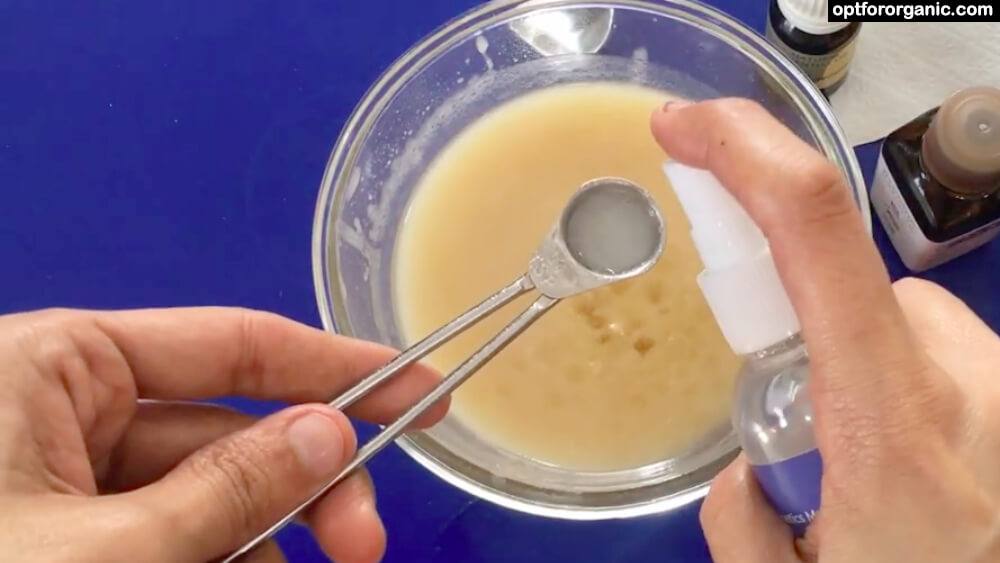
Preservative – Now to make our face cream last for a longer period we need a preservative.
Which is 0.1 to 0.5 per cent of a batch. For 300 ml we need 0.3 to 1.5 ml of preservative.
Here I am using 0.2 per cent which is approx. 0.6 ml of DMDMh preservative.
I know you must be thinking why to use preservatives when we are making all-natural products. Even though I don’t like to use preservatives, it is better to use a small amount of preservative and be sure of its quality than using a stale product which may grow fungus and cause bacterial infections on our skin. As we all know, once we add water to something it becomes sensitive to the environment.
There are a wide range of preservatives available in the market. You need to be very careful in choosing the right one. Few of them which are easily available can be very harmful to our skin.
I have shared a few names in the description box of my video on youtube. Be aware of these ingredients while purchasing any cosmetics from store.
Okay, let’s start making.
First we will melt the oils, butter, beeswax and stearic acid by double boiler method or in a microwave.
I am melting by double boiler method.
For this take a stainless steel pot and boil some water.
Now put a glass bowl over this pot, a bit elevated from the water level
Now add 3 tbsp of Wheat Germ oil, 3 tbsp of almond oil, 1 tbsp of rosehip seed oil, 4 tbsp of cocoa butter, half a tbsp of beeswax and 1 tsp of stearic acid.
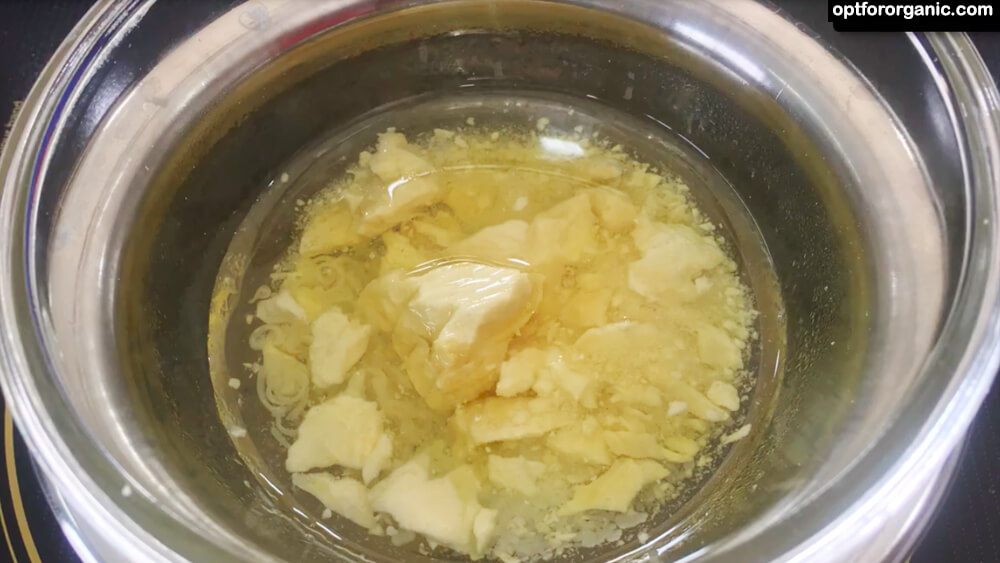
Once the mixture is completely melted put it aside to bring to room temperature.
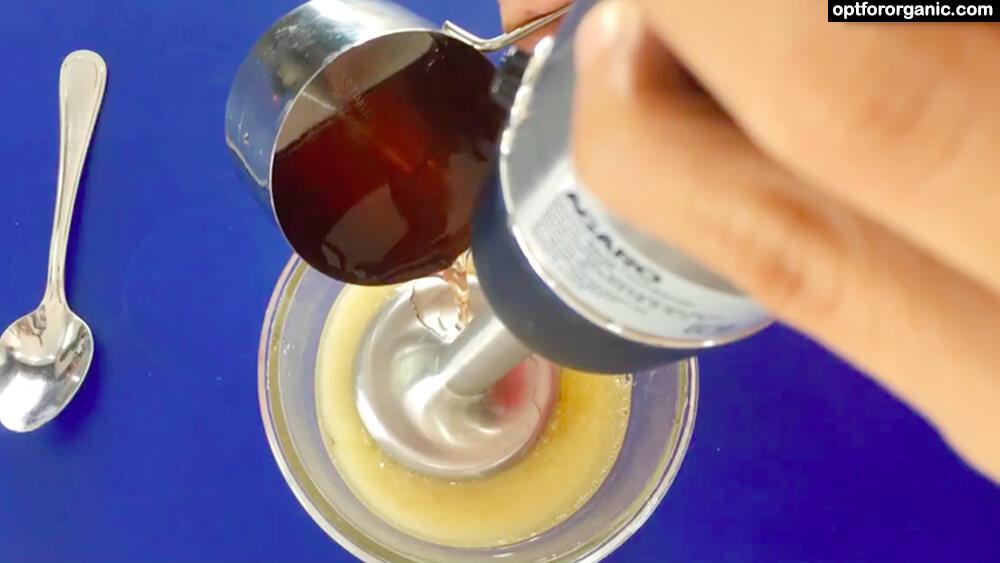
Meanwhile, prepare the water part.
For that I am taking 2 to 2 and a half tbsp of vegetable glycerine, 1 and a half tbsp of rice water, 3 tbsp of flowers infused tea and 1 tbsp of freshly extracted aloe vera gel.

To make rice water, soak a tbsp of rice in 1 cup of distilled water for half an hour.
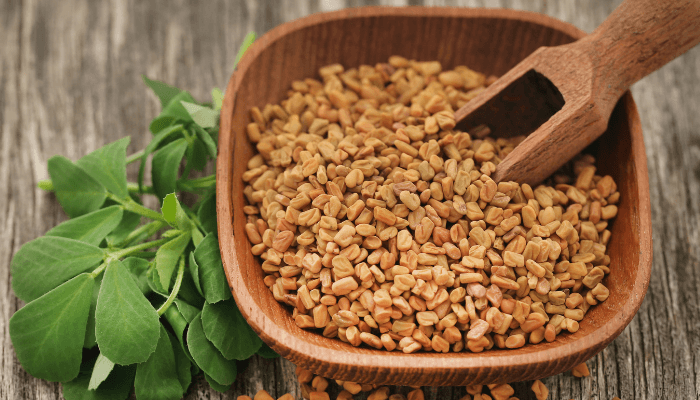
To make flowers tea, steep 1 tbsp of dry lavender flowers, 1 tbsp of dry hibiscus flowers and 1 tbsp of dry chamomile flowers in boiling water.
(You can use your own favourite flowers. Just make sure you use dried flowers).
Let them steep for about 10 to 15 minutes.
Now, make sure the temperatures of both oil mixture and water mixture is almost similar before mixing them.
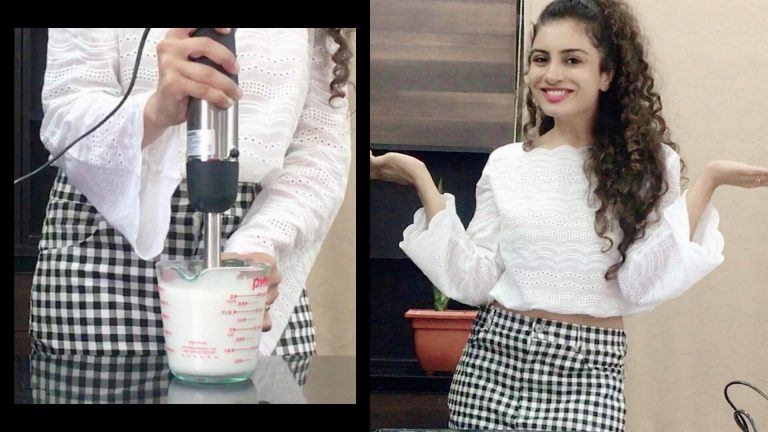
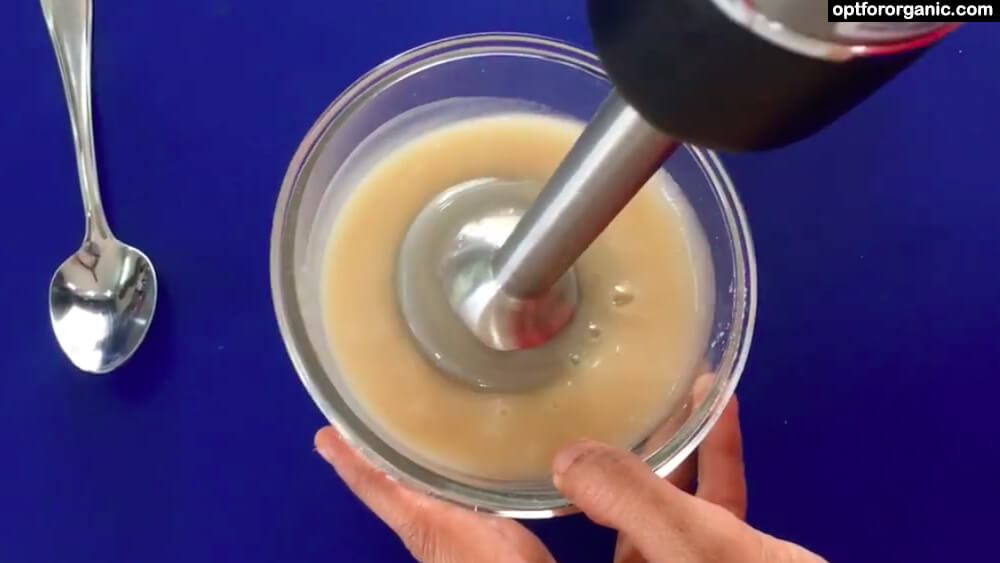
Pour the water part in melted ingredients slowly and continuously blend them using a hand blender for minimum 2 to 3 minutes until you get a creamy texture.
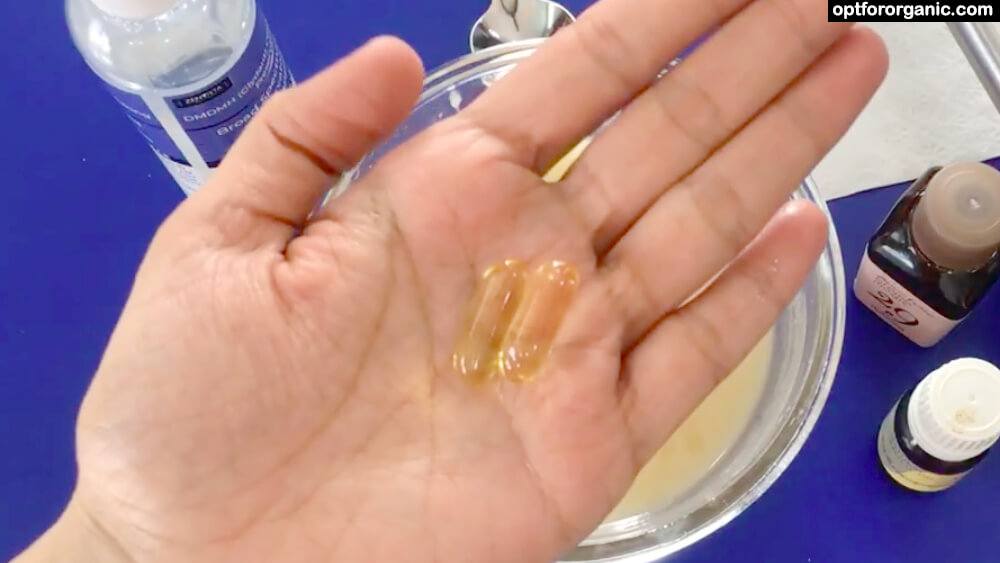
In the end add 1 to 2 capsules of vitamin E, 30 drops of essential oil (I’m using 5 drops of nutmeg essential oil and 25 drops of frankincense essential oil) and ¼ tsp of preservative. Stir the mixture and blend it for a minute.
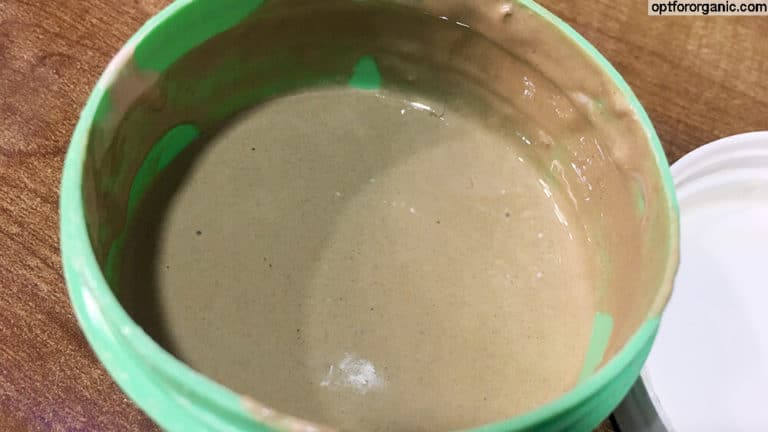
The cream will be liquids until it is completely cooled down. My face cream took almost 4-5 hours to get this consistency.
So once the cream has become solid again blend it using the blender and you will get a smooth creamy solid texture like this.
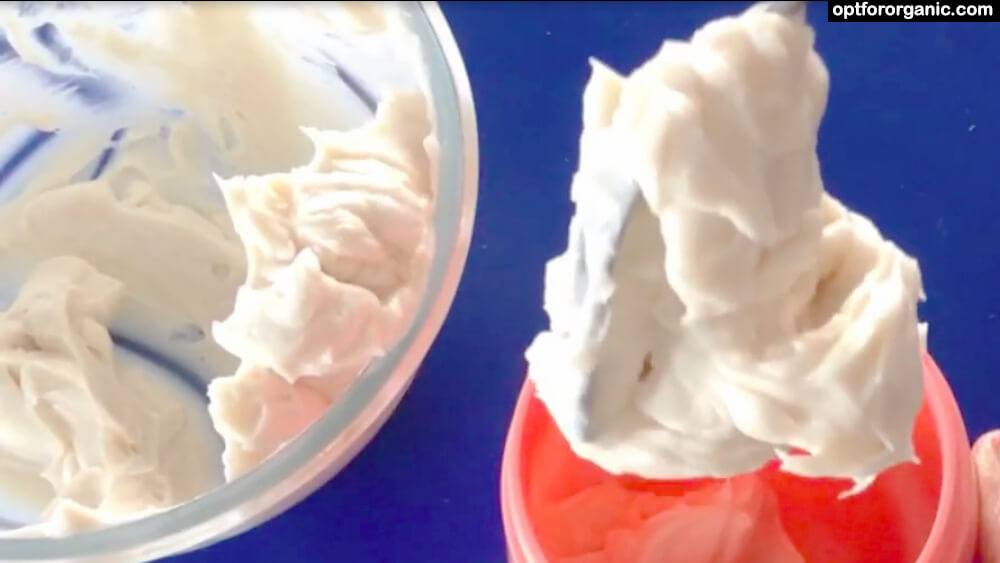
Transfer it in an airtight container and your homemade face cream is ready. 🙂
Final chart of the ingredients I have used in this face cream:
If you wish you can make small batches every time with different ingredients and can preserve it in the refrigerator for a week without preservatives.
So, go ahead and make your batch and share with me about the ingredients you used.
Also, let me know how did you find your homemade cream.
You can ask me about the ingredients you want to get information about.
Write to me in the comment box.